Painting Battletech Miniatures: My First BattleTech Minis Journey
- Peter Demos
- Jan 21, 2025
- 6 min read

Updated: Jan 25, 2025
This was my first attempt at painting some minis. I've decided I will be painting battletech miniatures for my first minis. I've always loved the BattleTech/Mechwarrior universe. I have played every Mechwarrior game from Mechwarrior 2 in 1995 all the way up to Mechwarrior 5 Mercs. I don't plan on stopping anytime soon. I think my favorite of them so far has been Mechwarrior 2 Mercenaries. I absolutely love the ability to tinker and mold each Mech into how I wanted it to be, and that was usually all the DAKKA (never enough DAKKA). I also played and really loved the BattleTech video game. Being that I enjoyed that game so much and it seemed to be pretty close to the tabletop, that felt like the natural starting place. So, I picked up a starter box set, picked out enough to make a lance, and jumped in. I got the BattleTech Introductory Box Set (which no longer exists, but here are two sets that might work Beginner Box Set and Battletech A Game of Armored Combat). The mechs I started with were the Awesome, Cyclops, Commando, and Whitworth.
Now that I picked the ones I wanted, I decided to paint them in a variation of black and red. I didn't have any reason other than I like that combination of colors, and I did kind of dig the Black Widow Company from the lore. So, I figured I could just make them some kind of Merc lance because I knew they weren't going to turn out overly great.
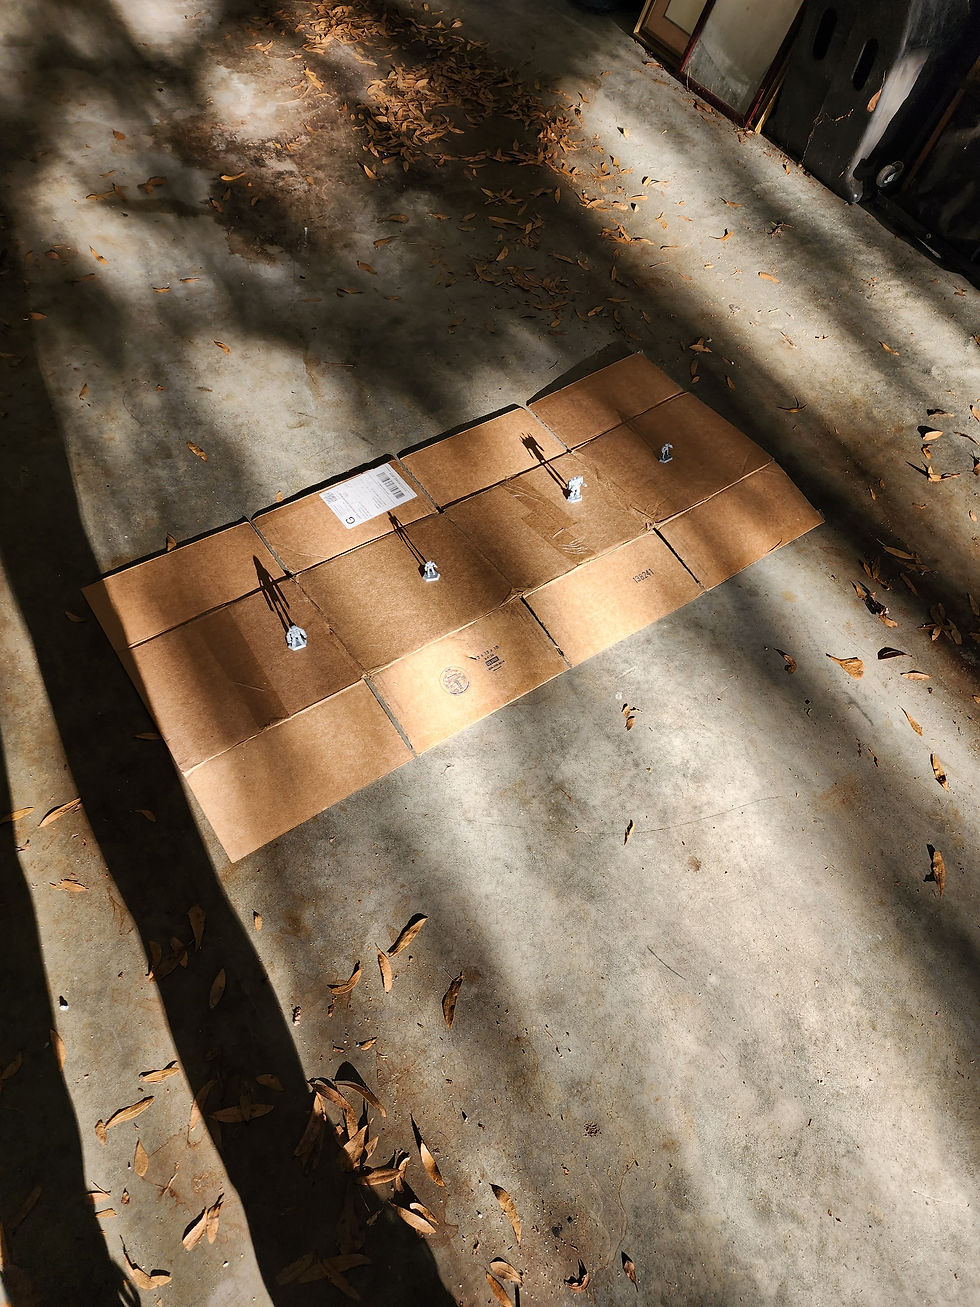
The first place I started was with priming the minis. I had trouble finding some primer, but ended up finding a grey rattle can primer from Lowe's. I then went out into the garage with some cardboard, laid it down, and sprayed it all around to make sure I covered the entirety of the minis.
Next, I applied a black base coat, doing two layers to ensure full coverage. I used some acrylic paints that my girlfriend had laying around from a regular paint set. It did pretty well, but I paid special attention to thin it out really well. This paint could be difficult to control at times though. Here are some photos from just after doing the base coat.


I then took some grey and did a dry brush over them to try to add some weathering to the models. It turned out pretty good. I need to work on my brush control a little more on this part. For my first time attempt at anything like this, I was pleasantly pleased.

Next, I added some of the details to the mechs. I started with gold for the eyes/cockpit areas and silver for things like weapons, actuating joints, and other places I deemed necessary. I was really focusing on working on my brush control during this part. I had to go back and touch up quite a few times during this step due to losing control and hitting areas I didn't mean to.


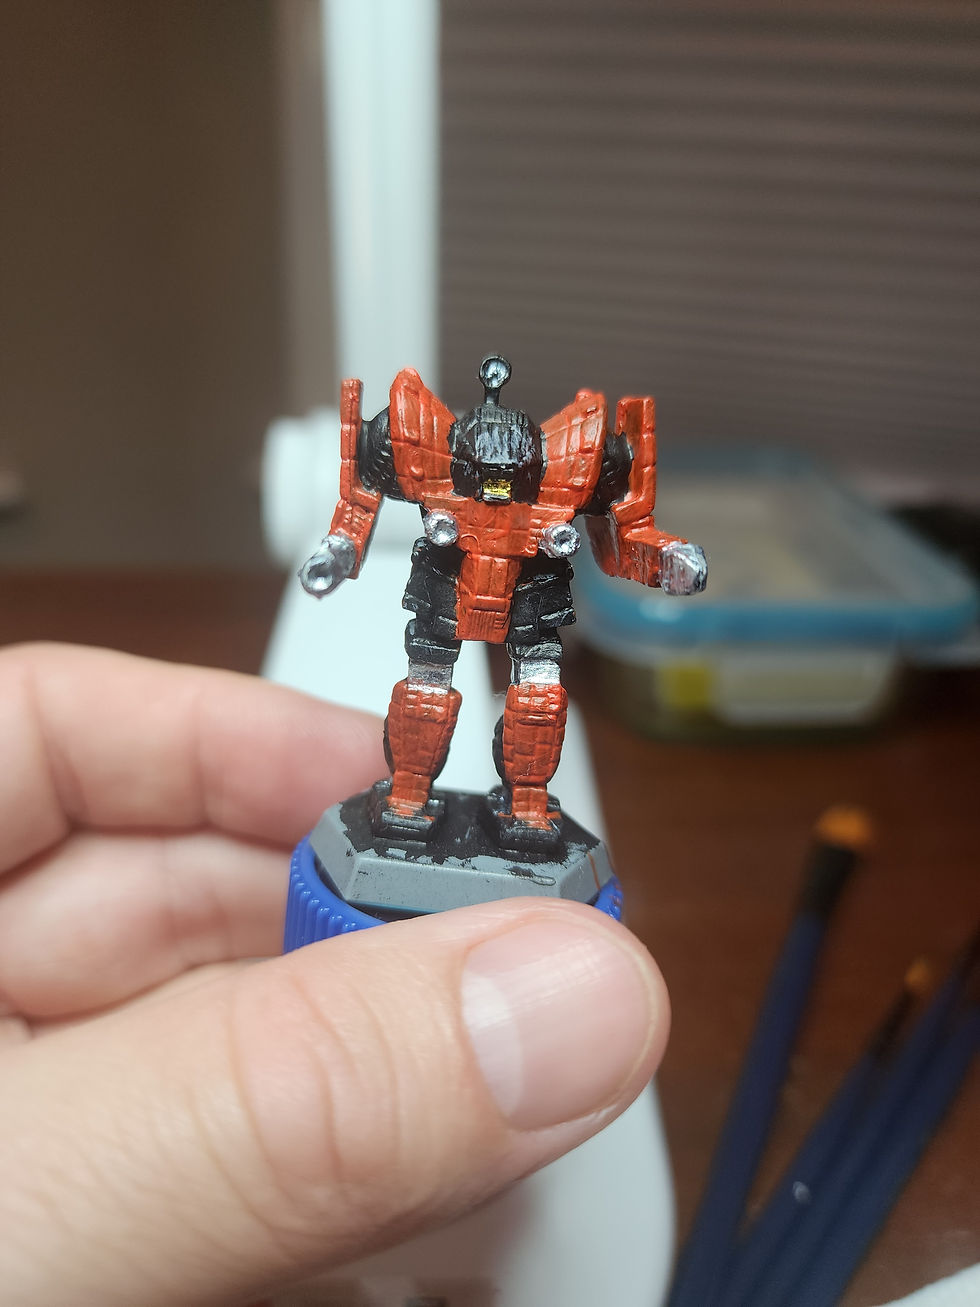
I then went to add the red to the mechs. I found out, however, after putting on the coat, the paint was more orange than the red it looked on the label of the paint tube. So instead of a black and red color scheme, I ended up with a black and orange. I decided I would just roll with it since I was just testing things out, and in the end, I kind of liked how it turned out, so it was all fine. One lesson there is to try a small bit of paint out before you just start throwing it on a model if you have never used it before. I also learned here that a black base coat is really tough to paint over, so I had to use a few layers to get a decent amount of the orange to start coming out.
Here is a close-up of a model after the first coat of orange.

Here is the same model after another coat.

The orange looks a lot better, but you can still see it's having some trouble with the black undercoat. I will probably try to stay away from a black base coat in the future. Still working out in my head how to use black for certain things. Here are the Awesome and Cyclops.


I then decided I was going to put a wash on there. I didn't feel like making my wash, so I ordered some Citadel Nuln Oil from Amazon. I liked the way it turned out. I'm still trying to figure out the little details when using shades/washes because I know there are different colors. I'm just not sure how to mix the colors to get the best effect.


I decided the first coat was not dark enough, so I added another layer.


After I was satisfied with my wash, I started trying to add small details like scratches to the mech. I tried my best with this, but I'm still working on my brush control. I haven't figured out how to get a small enough line with my brushes yet. I was looking up techniques for this, but I just wasn't able to reproduce the results of others. I also used a piece of foam to try to make some chips around the edges of the orange. This turned out fairly well, way better than me using a brush to make scratches. I also did some stuff like paint the inside of the weapons. I used light blue for the PPCs, red for missile tubes, and green for large lasers. The missile tubes were the worst because they were the hardest to get a fine dot on.


From here, I decided I was done with details and touch-ups, so I moved on to painting the bases green to look like grass.

After finishing that up, I wanted a little more detail on the bases, so I painted the edge of them black and added some fletching in some bushes around the feet with a rock. I liked the way it turned out.

At this point, I considered them finished. Overall, it was a huge learning experience. Some of the big takeaways from this for me were that I really needed to work on brush control, but I think that comes with time and repetitions. I will probably be working on that forever. I probably would have changed the order I painted things in. Instead of a black base and orange secondary, I would probably have done an orange base with black secondary. This way, I wouldn't have to fight the dark color so much. I think in the future, I will see how it goes starting with the lighter color and finishing in the darker color. The only thing that worries me is if I make a mistake, it'll be harder to cover up. I also think using mini paints is probably a better idea than using some acrylic paint my girlfriend has laying around. That will be another thing I will be looking at for the next minis. I had a really good time though and am looking forward to the next minis I paint.


Comments